Add text and logos to your openSCAD files with no faffing
[EDIT: Quite a lot of this post has been re-written, as it was pointed out to me that the text() module was inbuilt, and that perhaps I shouldn’t try doing this stuff in the middle of the night after entertaining an 8 month old all day. I have re-written this post rather than take it down because I’m always pleased when people point out a better way to do things, even if it does make me swear because I spent ages looking for the simple answer and couldn’t find it.]
Text
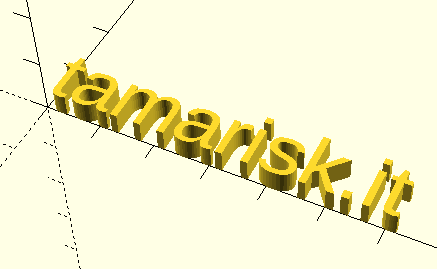
Text, it turns out, is ridiculously simple to do and I was just being an idiot:
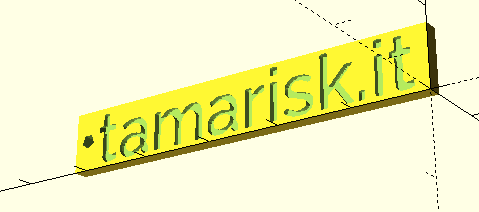
linear_extrude(4) text("tamarisk.it", font="raleway style=Semi Bold", valign="centre");
Yes, really. That gives you this in the font you specified:
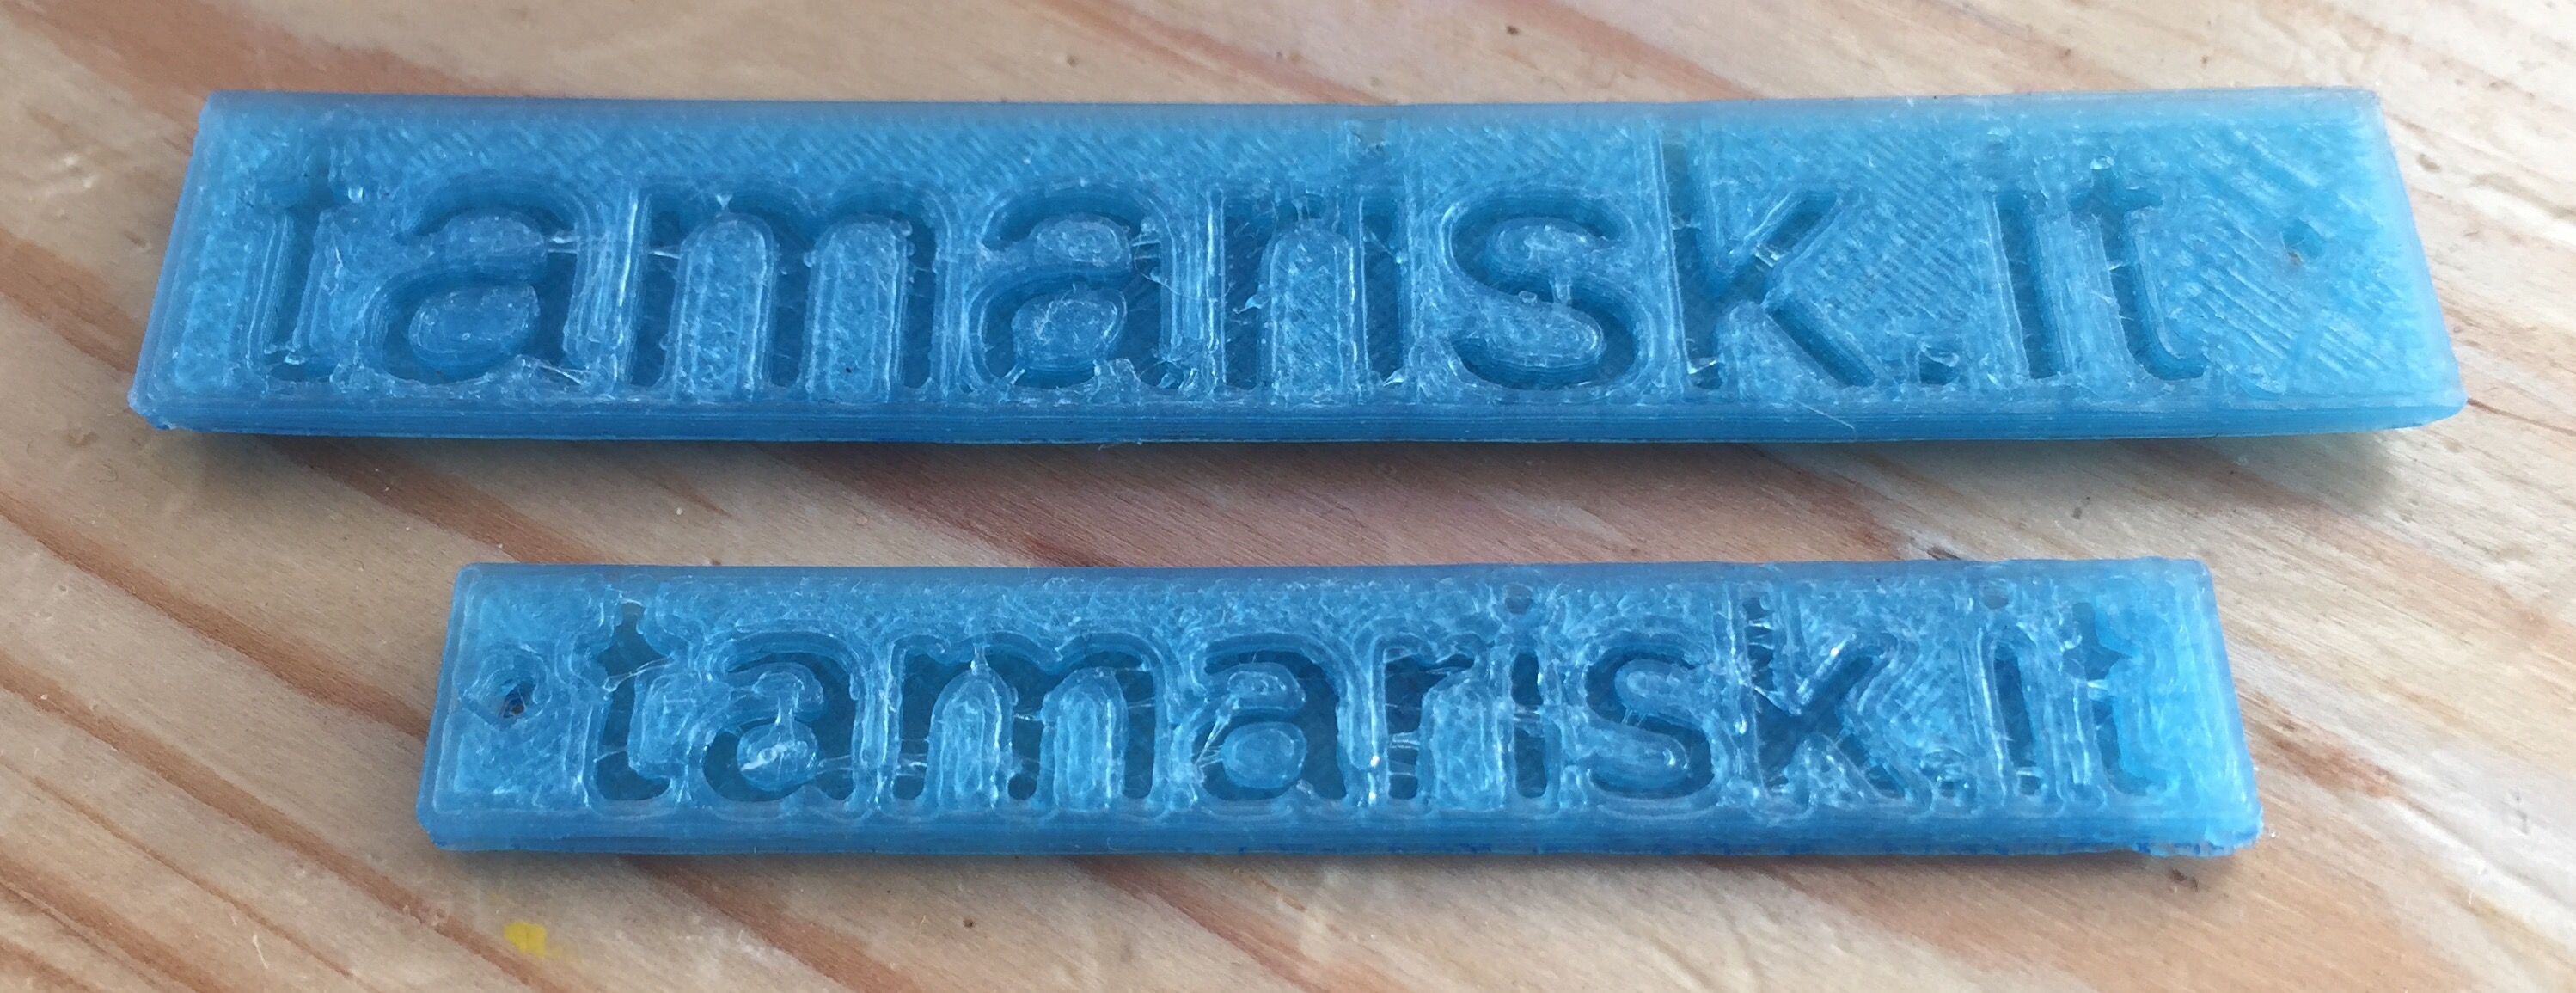
Once you’ve done that you can jump straight to step 3 of adding a logo (if you need instructions). Here’s the result, I’ve printed this one a bit bigger than the original (below) so it’s a bit clearer.
Logos
Step 1: create a PNG
Open your image editor of choice (I used Photoshop) and create a PNG of the logo you want. Before you save your file make sure the whole image is no bigger than the bit of drawing you actually want to use. You also want your image to be in greyscale. Here’s my png:

Step 2: import your PNG using the surface() and scale() functions
scale([1,1,0.1]) surface(file="file_name.png",invert=true);
You’ll want to scale your image in order to fit it onto your print. Start with [1,1,0.1] and work out which way you need to go from there, I’m not sure what settings I exported with but I ended up scaling to [0.2,0.2,0.02] in order to get the text to fit in a space 38mm long by 8mm high. I chose to set invert to “true” and use the surface in the same way I would any other object that I had created.
Step 3: rotate and translate your surface until it is in the correct position
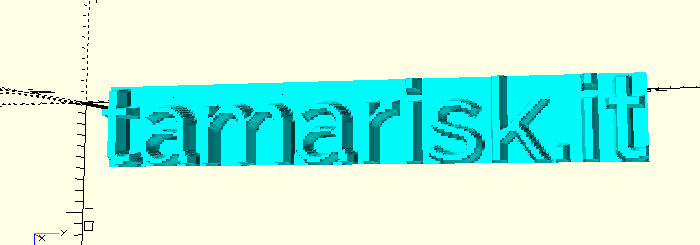
I also coloured it “aqua” in order to make the text stand out better, as the yellow version didn’t have much contrast.
Step 4: use difference() or union() to add the text to your piece.
Step 5: print
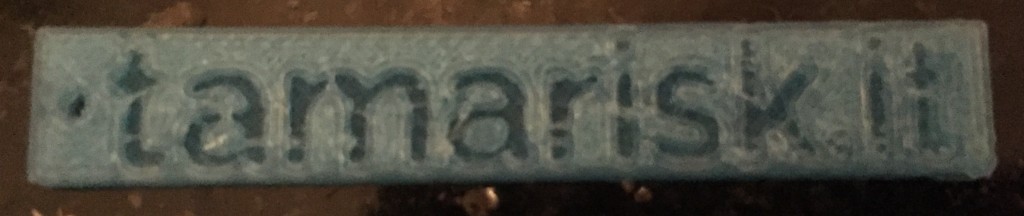
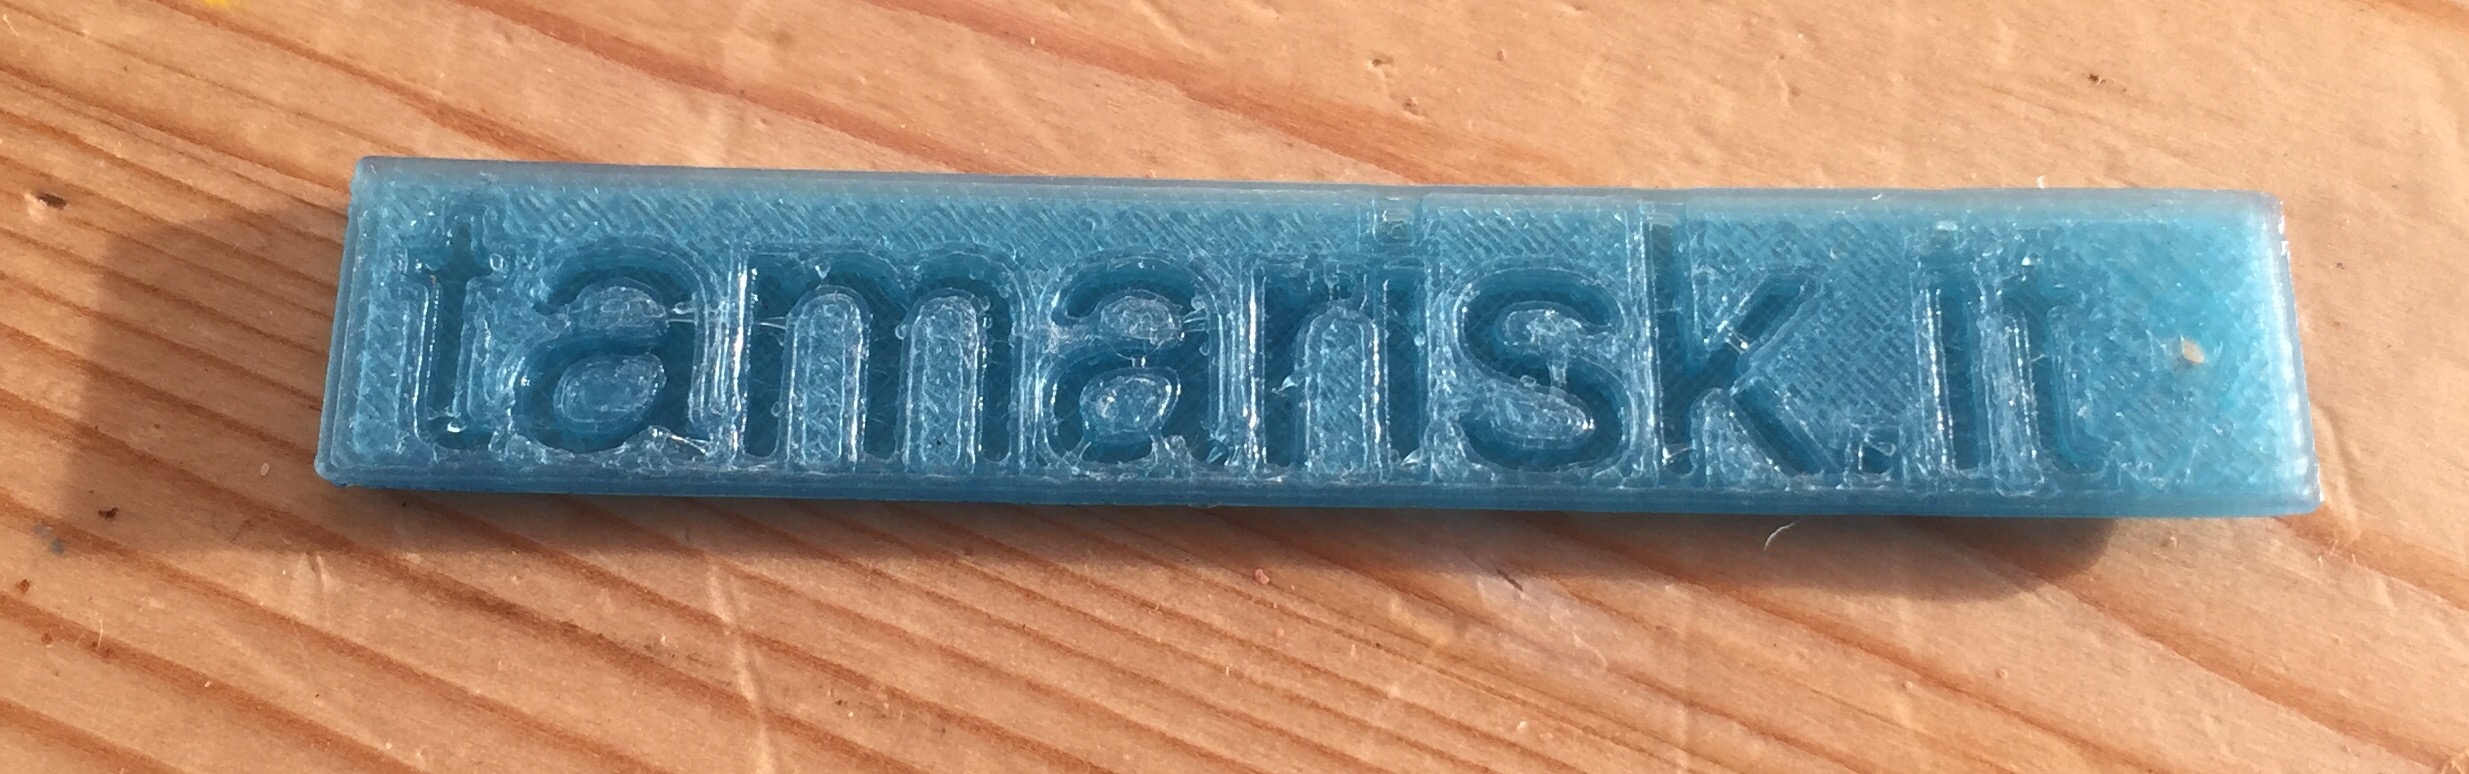
Please excuse the quality of the photograph, it’s quite hard to get a good shot of glow in the dark blue especially under artificial light. I’ll have another go at taking a photograph of the sample print in the morning.
A photo posted by @n0tquitehere on Dec 3, 2015 at 4:19pm PST
Sticking an instagram filter over my image has made it a little clearer. Here’s both of them together: